

Using a procedure taken from panoramic photography to increase the level of details thanks to multiple shots.
When we need to increase the depth of field of a picture, we usually operate on the lens by shutting down the aperture value. This means that, by narrowing the area where the light passes trough (the iris hole), we obtain a more restricted confusion circle and obviously a clearer picture compared to the one we would obtain with a wider iris.
This is true in most of the situation, but in some circumstances it could also happen that shutting down the iris wouldn’t be the best choice.
For instance, when we use macro lenses and we are extremely close to the subject that we want to shoot, most likely we won’t be able to increase significantly the depth of field. Moreover by shutting down too much the iris to bottom level, such as f22, could lead on one had to an increase of sharpness, but on the other hand to a drop of quality due to diffraction flaws.
In the following example we will increase the depth of field of an image not by shutting down the iris, though by merging different pictures of the same subject.
The starting image has been shot with the iris set to f7.1.
As we could easily notice, the front part of the model is perfectly on focus, while the area beyond the car door is completely out of focus.

In this situation we will take more than one picture, focusing each time on a different area. Obviously we will pay attention on moving only the focus and not the frame.
To do that what we need first is a good tripod. That will allow us to take more than one picture of the same subject using the same framing.
Once we have set the lights, we need to decide which area we want to focus on. We can start with the front part of the car and gradually shift the focus to the rear, but we can also decide to invert the direction obtaining the same effect.
In a situation like this, 8 pictures could be enough.

Once you have downloaded all the pictures on your computer, I recommend you to open them with Adobe Bridge. Thanks to its easy functions Adobe Bridge will allow you build up your pictures collage more rapidly.
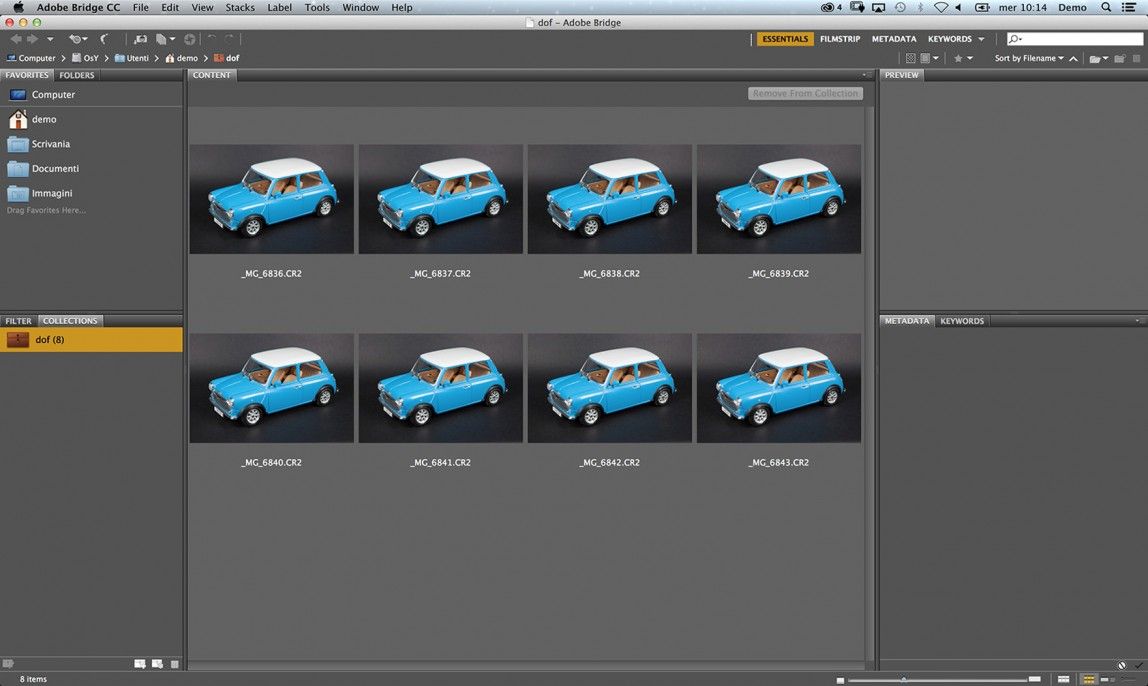
After having racked up all the pictures, proceeding with the same order of the focusing, we need to select them all and choose from the menu “Tools – Photoshop – Load files in Photoshop layers”.
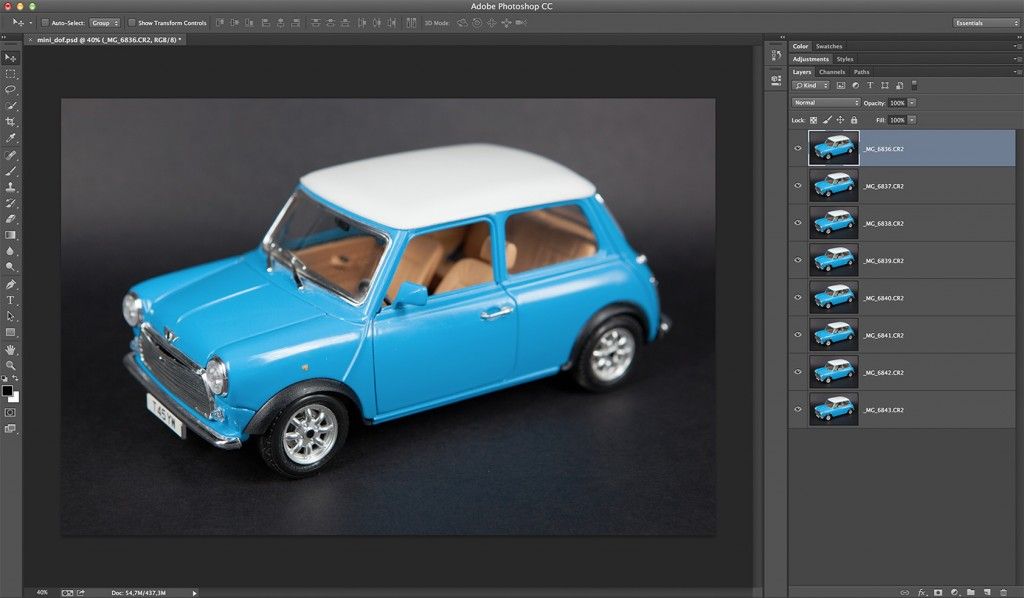
Photoshop will open automatically and the pictures will be all loaded in a single file even though on different layers. Here’s how it will look like:

Now we’ll be ready to align all the different layers.This procedure is recommended also if we are shooting with a tripod because it could always happen to slightly move the camera while we’re changing the focus, or because the lens we’re using modifies the frame, depending on the focusing distance. It doesn’t matter: we will solve this problem by aligning the different layers.
To do that, we need to select all the layers and, form the menu Modify in Photoshop, we need to choose Auto-Aligh Layers. Let’s choose the automatic alignment and confirm by clicking OK. After few seconds all the pictures will be perfectly superimposed.

As a final step, all we need is to choose Modify from the menu and go to Auto-Blend Layers. Let’s select the option Stack Images and confirm by clicking Ok.This procedure could take several minutes, depending on the number of pictures, on their dimension and on your computer performances.
And here’s the result

Now, all the layers will be aligned as well as perfectly merged and masked.
Photoshop would have done the hard work for you, trying to understand which area was on focus in every single shot, comparing it with all the other ones.
The final result is a perfectly clear and sharp image, from the front tire to the rear one.
This technique could be re-applied each time you need it in a multitude of practical situation: from still life photography, to macro, or simply to increase the resolution of a single shot.