

In my last article I wrote about the basic workflow from the download of the card to soft proofing, I talked about Pre-sets in ACR (Adobe Camera RAW) and the finishing of the image for the client.
In this article we go a little deeper in the finishing to give you a better idea of what the client gets to see and to clear up any misconceptions if you think this is a PROOF, because it is way beyond that.
Basics of Pre-sets
The idea of setting up my pre-sets, even basic ones, is to take the mundane work out of workflow as many of the images can be grouped together in batches. During the Pre-sets procedure you can really move the image to another level for the client with the minimum amount of effort. Most of my images can be corrected in 3 clicks in the pre-sets panel, these are usually a Correction, A Recovery or Contrast and an Effect. Quite simple when you break it down to what you do to an images.
My Basic Pre-sets Palette consists of around 25 small adjustments and then around 25 effects, everything from Mono to HDR, Grainy Soft to Sharp and Contrasty. As much as I would love to have the time to just sit down and fiddle with every image it is impractical, as in the real world it is near impossible in time management with the workload I have, especially when you are trying to complete a full workflow edit to proof task of a lot of images within a short window of time.
Pre-sets panel
Making a Pre-sets collection does not take much time, just a bit of common sense with the pre-sets based on the repetitive tasks you are doing all the time, a bit like an action but non-destructive by design. Pre-sets I make are usually additive so I can add different adjustments without affecting the previous ones. To do this I need to only save the new adjustment when saving the pre-set and none of the other changes.
-

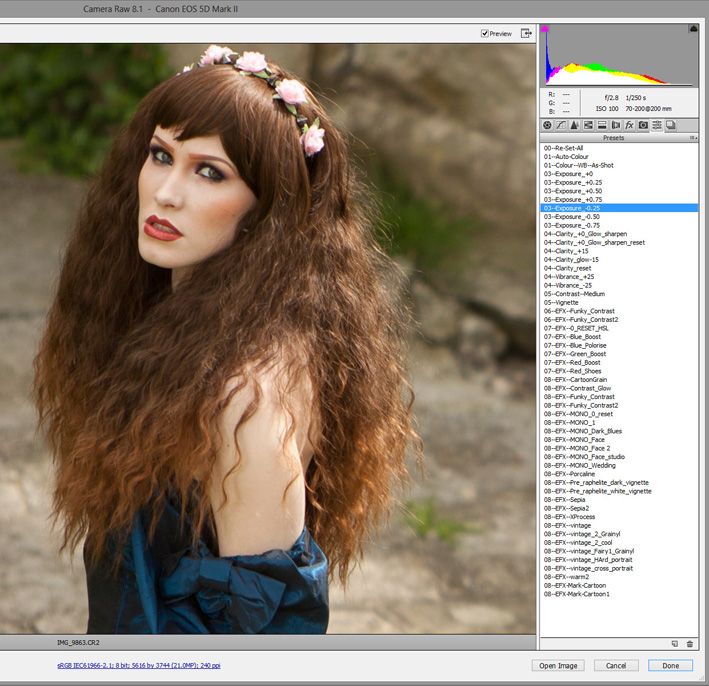
- The most basic corrections made are exposure and contrast. My pre-sets panel has adjustments from +0.75 to -0.75 of a stop, anymore than this and I feel I have to go and hand hold an image.

The next adjustment is for contrast or to bring back detail in the highlights. Most of the time it’s a contrast adjustment and I have two basic Pre-sets a Medium contrast and Funky Contrast. For this image I am using the Funky setting to bleach out the skin slightly to give a porcelain effect.

Combining Pre-sets for EFX in only 3 clicks
The last adjustment in my 3 click scenario is usually an effect, this could be different types of mono, a Vignette, a softening or a dramatic effect involving a combination of settings to give me a very specific look. These EFX Pre-sets may include expose adjustments in some way, so a correction may be need.
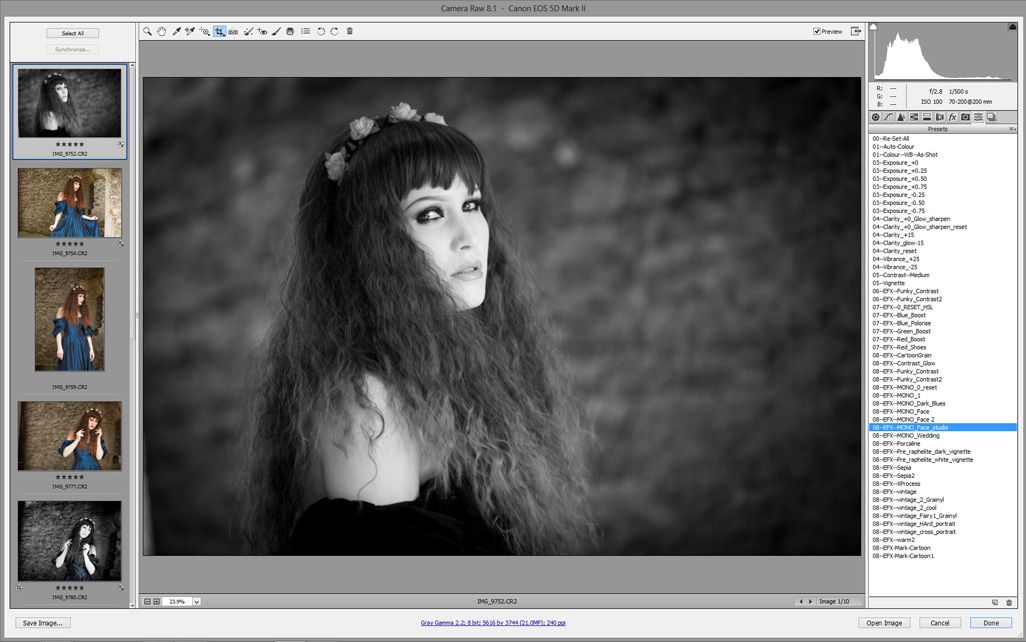
Black and White
-

- Before

-

- Exposure correction +0.25 Pre-set Mono Studio face – HSL Zero all colours in Saturation, Plus a medium Contrast. Vignette – To add dark edges to the images

Blue effect
-

- Before

-

- Exposure correction +0.25 Pre-set Blue Boost – HSL Zero all colours except the Blue in Saturation, darkens Blacks slightly, increase contrast and adds some glow via a Minus in Clarity Vignette – To add dark edges to the images


Glow Sharpen
For this image the 3 click finish was to first correct the exposure to help bleach the detail on the skin and lift overall detail. The second click was a Contrast adjustment with a Vignette to darken the edges as well as bring a slight sharpness through contrast. Finally the Glow sharpen using the clarity slider to soften the face and to add a slight overall softening.
-

- Before

-

- Exposure correction +.25 exposure Contrast Medium and Vignette -32 Glow and Sharpen which equal Clarity -25 Sharpen +70


So as you can see the power of Pre-sets is quite simple and with just some simple planning and a workflow thought process you can take any single or multiple image to another level.


