

Hovering over the urban jungle of Manhattan, it all seems so peaceful. Huge towering skyscrapers from the ground are reduced to abstract shapes and patterns, people to scurrying ants and the usual hustle and bustle of one of the world’s busiest city cannot be heard as you gently hover above some of the most iconic structures of the planet, photographing them from angles and perspectives that you never thought imaginable. This is the beauty and majesty of aerial photography.

I recently was lucky enough to have the opportunity to shoot from the skies over both Miami Beach and New York City; needless to say I’m now addicted to the whole experience. I shot Miami at dusk to capture the spectacular South Florida sunsets and lights coming up over South Beach whilst in New York I flew over Manhattan during an overcast day, making for lovely soft light.


Photographing and seeing the world from this unique perspective is mesmerizing and means we can see our world through an entirely different lens. Throughout this article, I want to share experiences of my flights and impart some advice to help you make the most of your time photographing from the air if you are fortunate enough to do so.
Fly with a Reputable Carrier
Firstly, if possible, you want to find a reputable company that is used to working with photographers and ideally ask for the doors of the helicopter to be removed; this is going to give you the best opportunity to capture those once in a lifetime shots. Indeed, flying in a helicopter without doors allows for completely clear views; it also means that you can shoot uninterrupted throughout the flight and often almost straight down if you wish. Flying without doors can be chilly though no matter what time of year due to the downdraft from the rotors so be sure to take some layers, a windbreaker, a hat and some gloves. You may not need them all but better to be prepared and it will make for a far more enjoyable and comfortable flight.
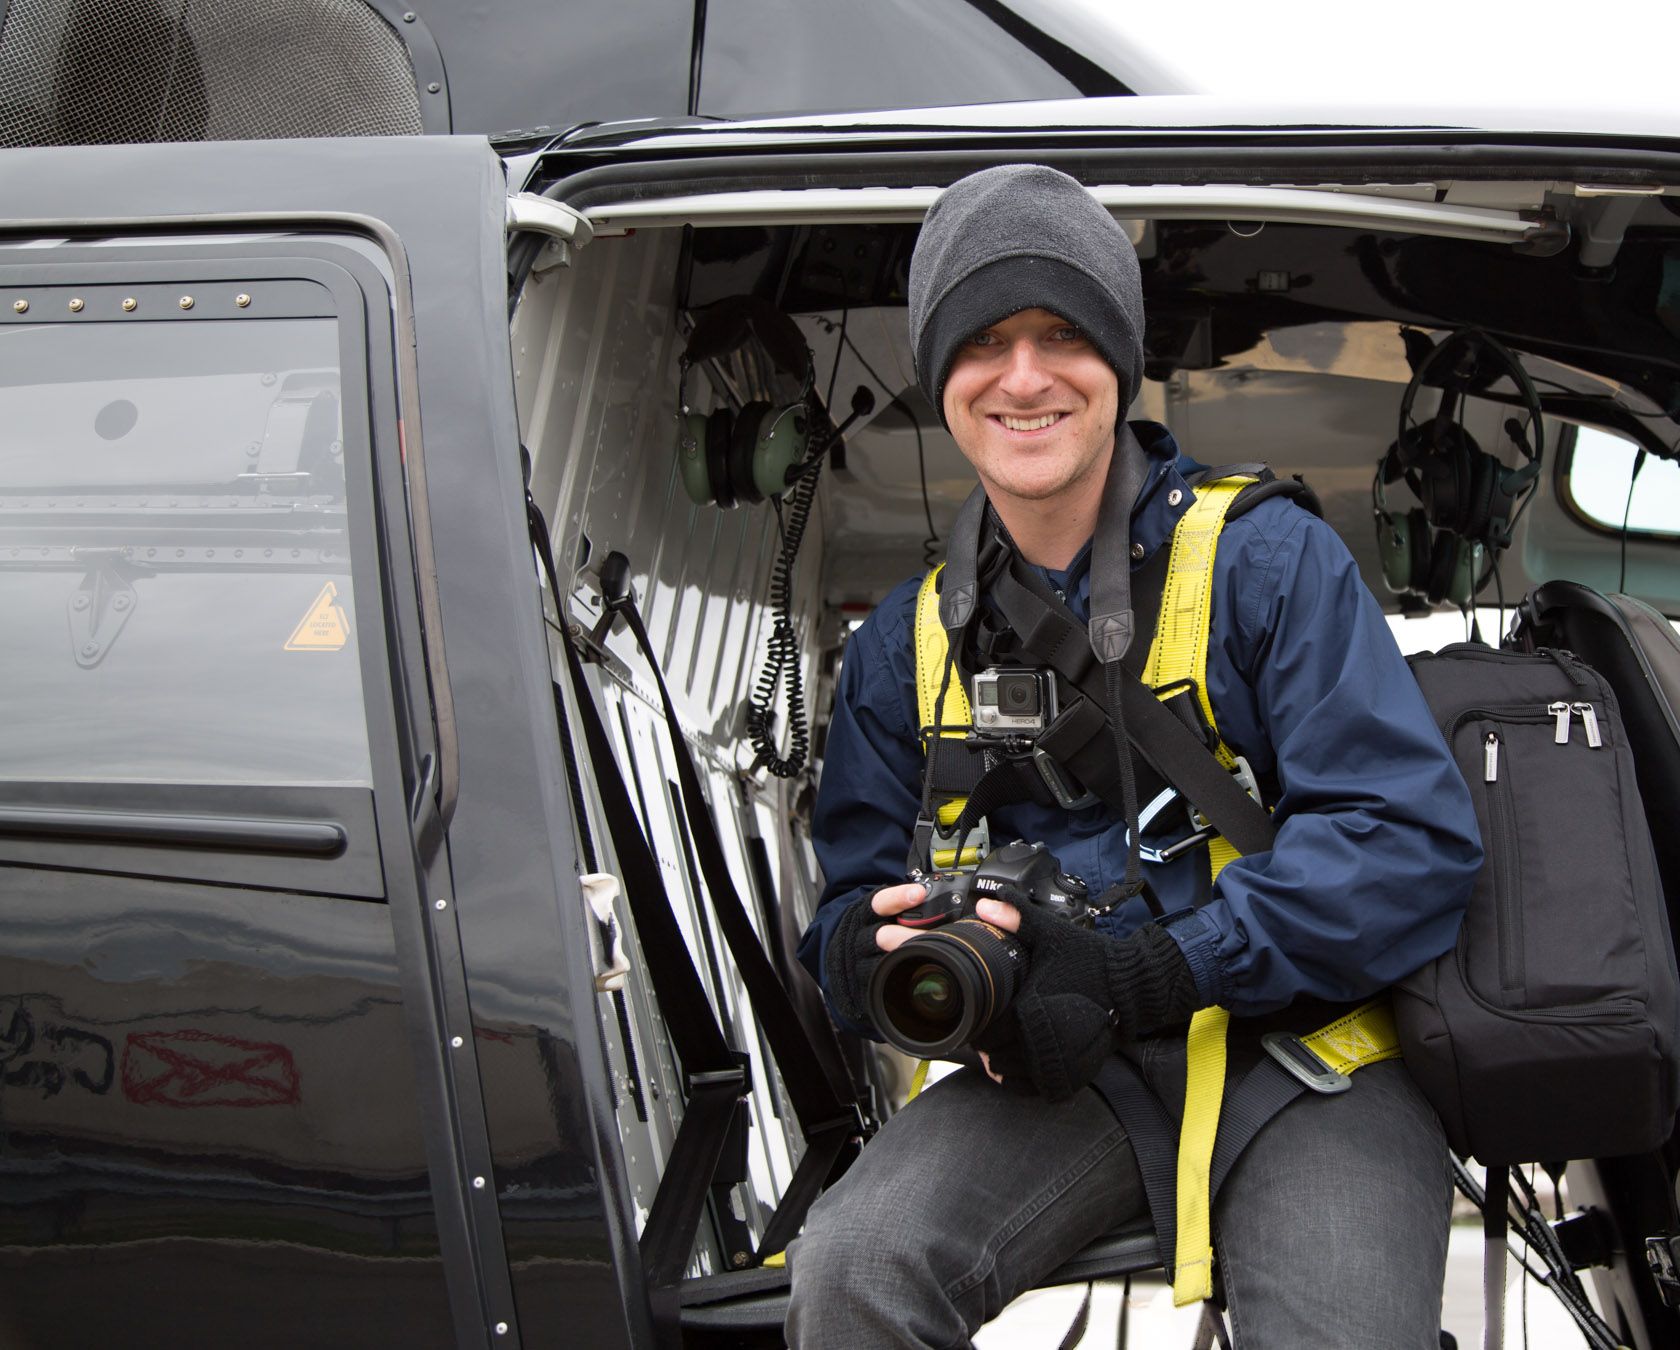

Luckily in Miami it was extremely warm and I did not need the layers but in New York as you can see even in the Spring, a jumper, windbreaker, hat and gloves were essential.
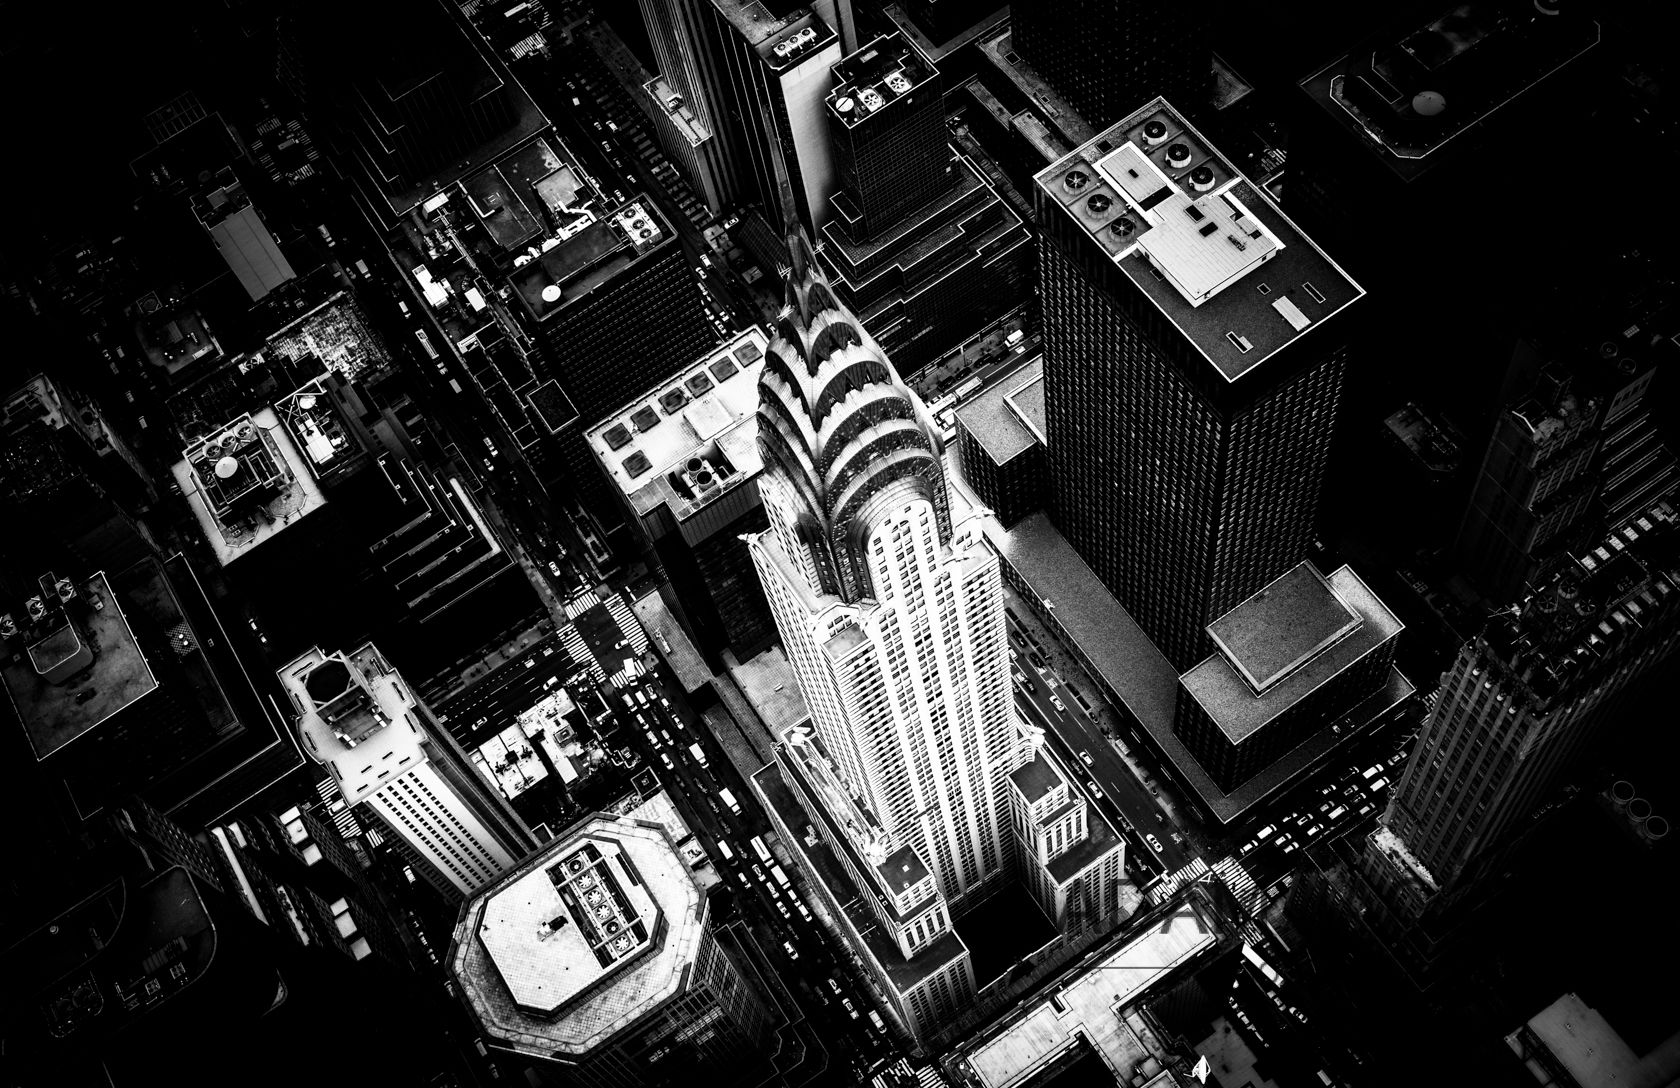
Indeed, flying with the right operation makes all the difference as they are aware of how changing light and weather conditions affect photography and will ensure you get the best shots whilst also keeping your safety as the number one priority. I was fortunate enough to fly both in Miami and New York with the excellent NYonAir who are used to flying photographers regularly. Furthermore, many of their pilots are conveniently also photographers. This means they have a firm understanding of how to maneuver the choppers to the best spots and are constantly communicating with you during flight via a headset in order so that you can get into the positions that you want in order to capture that perfect shot. For example, I knew in advance that I wanted a unique shot almost directly above the Chrysler Building. My pilot Rob had no hesitation in expertly getting me into a fantastic position and hovering the chopper until I was confident that I had the shots that I required.
Research and Prepare
Photographing from a helicopter takes preparation, planning and research therefore organization beforehand is crucial. Space inside a helicopter is incredibly limited so you want to take as little as gear as possible to mean you can concentrate on shooting and enjoying the flight. I would also advise taking the minimum amount of accessories when as it is unlikely you will have an opportunity to change memory cards or fish around your bag for filters or other accessories; the last thing you want is a lens hood falling off over New York City and hitting someone on the head…that’s a serious law suit on your hands!!
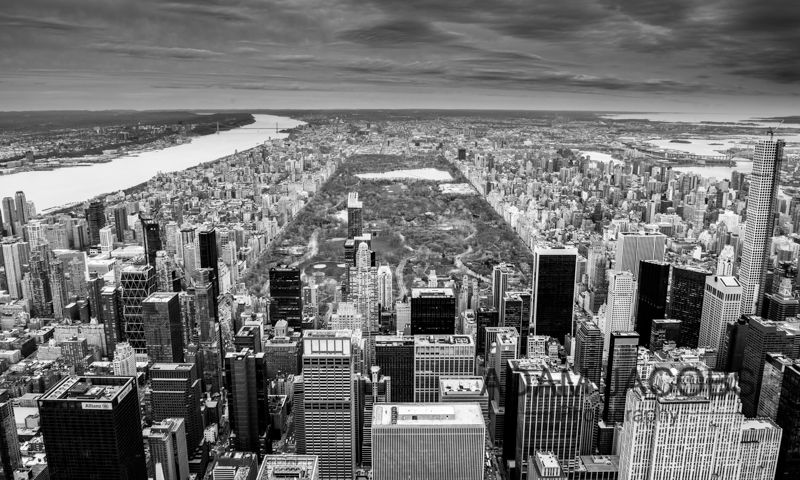
This would not have been a good spot to drop something given the density of buildings around Central Park!!
I would actually advise removing all hoods off your lenses before flying and leaving them on the ground. I also would take the largest capacity memory cards you have to mean you don’t have to change them when in the air; I loaded my two bodies with two 32gb high speed Lexar Compact Flash Cards. Additionally, changing lenses during flight without introducing dust into your sensor with the wind swirling around is virtually impossible. Meanwhile, the strength of the wind generated by the rotors, means even if you tried to change lens there is a good chance of it falling out and you never seeing it again.
To ensure that you don’t need to switch lenses at any point, I would recommend bringing two cameras if you can. I flew with the Nikon D800 and D4 securely attached to my torso, a GOPRO 4 strapped to my chest for behind the scenes video and my Manfrotto Sling Bag tucked into a small compartment and tethered to the front passenger seat should I need any miscellaneous gear in an emergency. I was fully harnessed to the helicopter both on the frame and the floor before take off, meaning that I could virtually step out of the doors as I increasingly gained confidence and shoot directly down onto the city before and avoid getting the skid in the shot.

Moreover, you want to make sure that all your gear is secure and fastened down before take off as helicopters can move around a lot; you do not want things rolling around the chopper or even worse falling out. Everything needs to be clipped to the helicopter or me at all times with no exceptions. Even a pair of sunglasses falling off could become a dangerous projectile if falling off over New York City. NYonAir did a great job of tethering all of my bodies to me using a variety of different clamps and cords to ensure that everything was secure and safe. As I was flying with just two bodies and knew that I would not be able to regularly and easily switch lenses, lens choice was crucial to maximize my time in the sky.
I knew I wanted to try and capture the city with wider, abstract angles as opposed to tight crops so opted to take up my Nikon 24-70mm 2.8 on my D800 and my Nikon 14-24mm on my D4. In truth, I ended up shooting 95% of the shots with the D800 as it soon became obvious that the 14-24mm was a little too wide. I was constantly capturing both the rotors of the chopper and the skid, that part of the helicopter on which it rests on the ground or where you can rest your feet. With the 14-24mm it also soon became apparent that blurry rotor blades were creeping into my frame thus ruining an otherwise perfect sunset or moody sky. Knowing this will save you a lot of time and frustration in post-production once you’re back on the ground. Occasionally, it was quite nice to use the wider lens and capture the helicopter in the shot in order to contextualize the shot and it was also useful for behind the scenes.

However, I was definitely more comfortable with the versatility and focal length that the 24-70mm offered me and ended up using this lens for the majority of the time. I would love to fly another time with a 70-200mm to capture some more tight photographs where I could pick up some more on details of buildings and elements of landscapes but I was very content with the images captured with the 24mm-70mm and would recommend this as a good focal length for your aerial photography adventure.

“This image of the Wall Street District in New York was shot at 24mm giving a unique perspective of the winding thin streets running through Manhattan’s financial district”
Camera Settings: Beware of Vibrations
In terms of camera settings, given my familiarity with my cameras I always shoot on manual but, always considered shutter speed as my main priority. There is a huge amount of motion and vibration inside the heli with constant vibrations and shaking all potentially causing your photographs to be soft. Subsequently, a general good rule to follow during the day is that you double your focal length in terms of shutter speed. By this I mean, that if you are using a focal length of 500m you should be shooting at 1/1000sec or faster. In practice though if you don’t have a large lens, I would ideally (obviously dependent on light conditions) still try to shoot with a shutter speed of 1/1250 or higher if possible. I did have to drop mine down much lower when shooting at night and push up my ISO but ideally you want to keep that shutter speed fast to keep your photographs free of motion blur. Luckily, with the advancement in CMOS sensors, you are now able to shoot on the high-end cameras at 3200 or 6400 with relatively clean images making shooting at dusk or night much easier than a few years ago where it would have been near on impossible. I find with my D800 that I can get relatively clean shots close to 3000 so pushing my ISO was not too much of a concern for me. I would rather have slightly noisy photographs than soft ones where I can do nothing with them in postproduction.
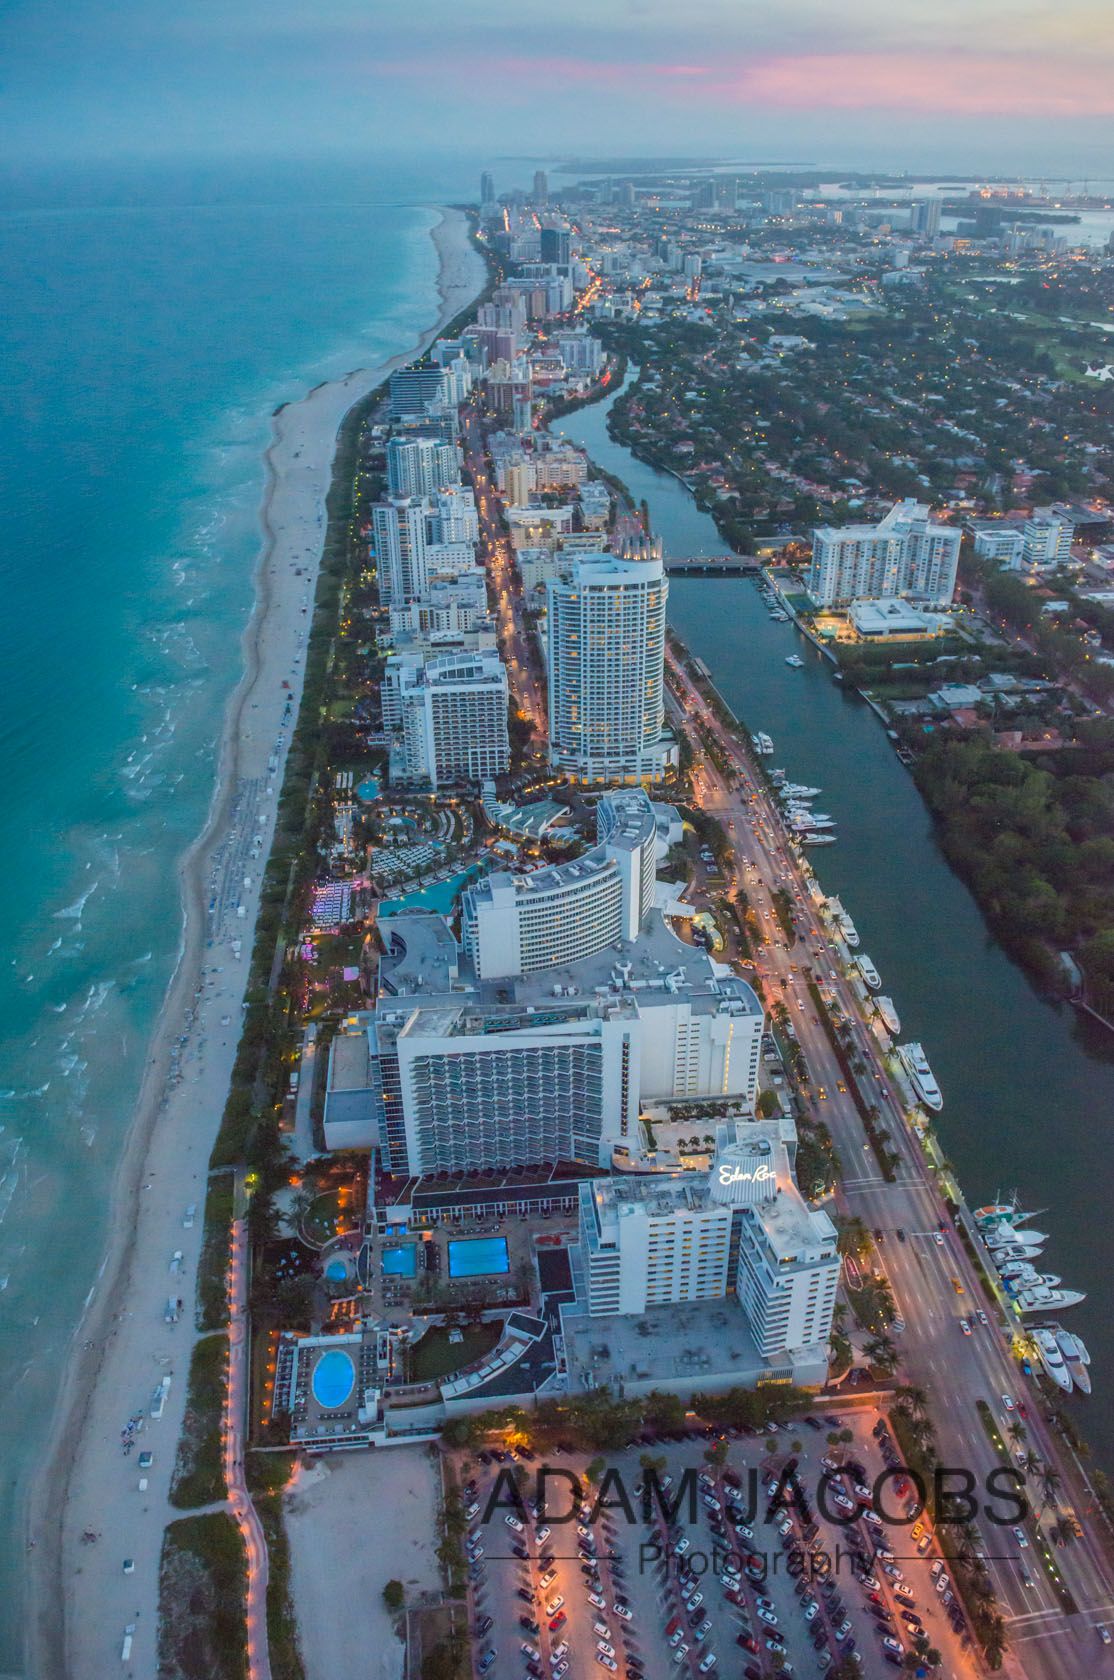
This photograph of Miami’s South Beach was taken at ISO 3200 at dusk
Also, avoid leaning on the side of the chopper for stabilization; remember it is constantly moving and vibrating so is not providing a sturdy support and will merely server to create more blur in your images. Another helpful tip is to lean forward so that your back is not in contact with your seat back if you are not sitting on the floor of the chopper as a lot of vibration transfers through the seat back to your body and therefore camera. Remember, the longer focal length you use will obviously also require a faster shutter speed especially if you start poking it out the chopper due to the swirling winds.
Since I was shooting RAW files the whole time I kept my white balance on Auto and use the highly reliable AF-S on the Nikons switching from single to multiple focus points depending on what I photographing. Further, in terms of aperture I generally varied between f/5.6 to f/11 depending on the light available and the subject I was shooting. In New York it was a daytime shoot and despite it being overcast I was able to use a higher aperture than in Miami where less ambient light meant I had to close up my aperture out of necessity.
-

- GridIron Building

-

- 1World Trade Center

These two photos show how you do not need a huge depth of field when shooting from above. The first shot of the infamous GridIron building which I particularly like as you rarely see it from above was shot at f11 whilst the photograph of the newly opened 1World Trade Center with the 9/11 Memorial Pools was photographed at f10
I also chose to use manual ISO, which gave me greater control. On my first flight experiment, I did experiment a little with the Auto ISO feature but found that a lot of my images were coming out under exposed so quickly switched to manually control the ISO. In Miami, where the light was extremely dim as I flew at dusk, I often had to shoot at ISOs of up to 3200 to ensure that I could keep my shutter speed at a suitable level to avoid motion blur. The shot below looking back at the beach from downtown Miami is an example of this where I was almost shooting in the dark with very ambient light.

Enjoy it
Make the most of being in the air and shoot constantly. I would recommend putting your camera on burst mode or even better bracketing exposures if lighting conditions are variable to ensure that you get the correct exposure. It is not often that you will have the chance to be in such a unique and fortunate position so I would take every opportunity to capture as many frames as you can; you can always delete them when you get home if you have too many but you won’t be able to go back up and take more photos unless you just happen to have a helicopter on tap – some of us can only dream!
It is not everyday that one gets to go up in a helicopter so make the most of it. Obviously you will be primarily there to take pictures but don’t forget to take the time to lower your camera occasionally and give yourself a few moments to admire how different things look from high up and overall have fun making some fantastic photographs.


