

In cinema, motion is everything. This is a leading way cinematographers are able to turn subtext into substance, and translate emotions into nearly palpable, visceral experiences. This creative control means the difference between a gritty handheld approach used in the film “Saving Private Ryan” which so intimately portrays a nightmarish battle in Normandy versus the famous three-plus minute perfectly smooth steadicam take of the Copacabana scene in Goodfellas. For nearly one hundred years, dolly tracks have been a staple on the sets of full-scale Hollywood productions. When sliders were invented, independent, and low budget filmmakers were given access to the elegant kind of shots that have been seen on the big screen for so many years. Needless to say, we were pretty excited when Manfrotto announced that they would be releasing their own slider.
Manfrotto’s new slider is an incredibly powerful tool that we find ourselves relying on more and more often. We wrote a detailed review about this slider, which can be found here. However, this article is less about an overview of the product, and more about how it can be used most efficiently and where it should be used. Let’s jump right into the exciting stuff. After using sliders for years, here are the techniques that have served us best.
Techniques
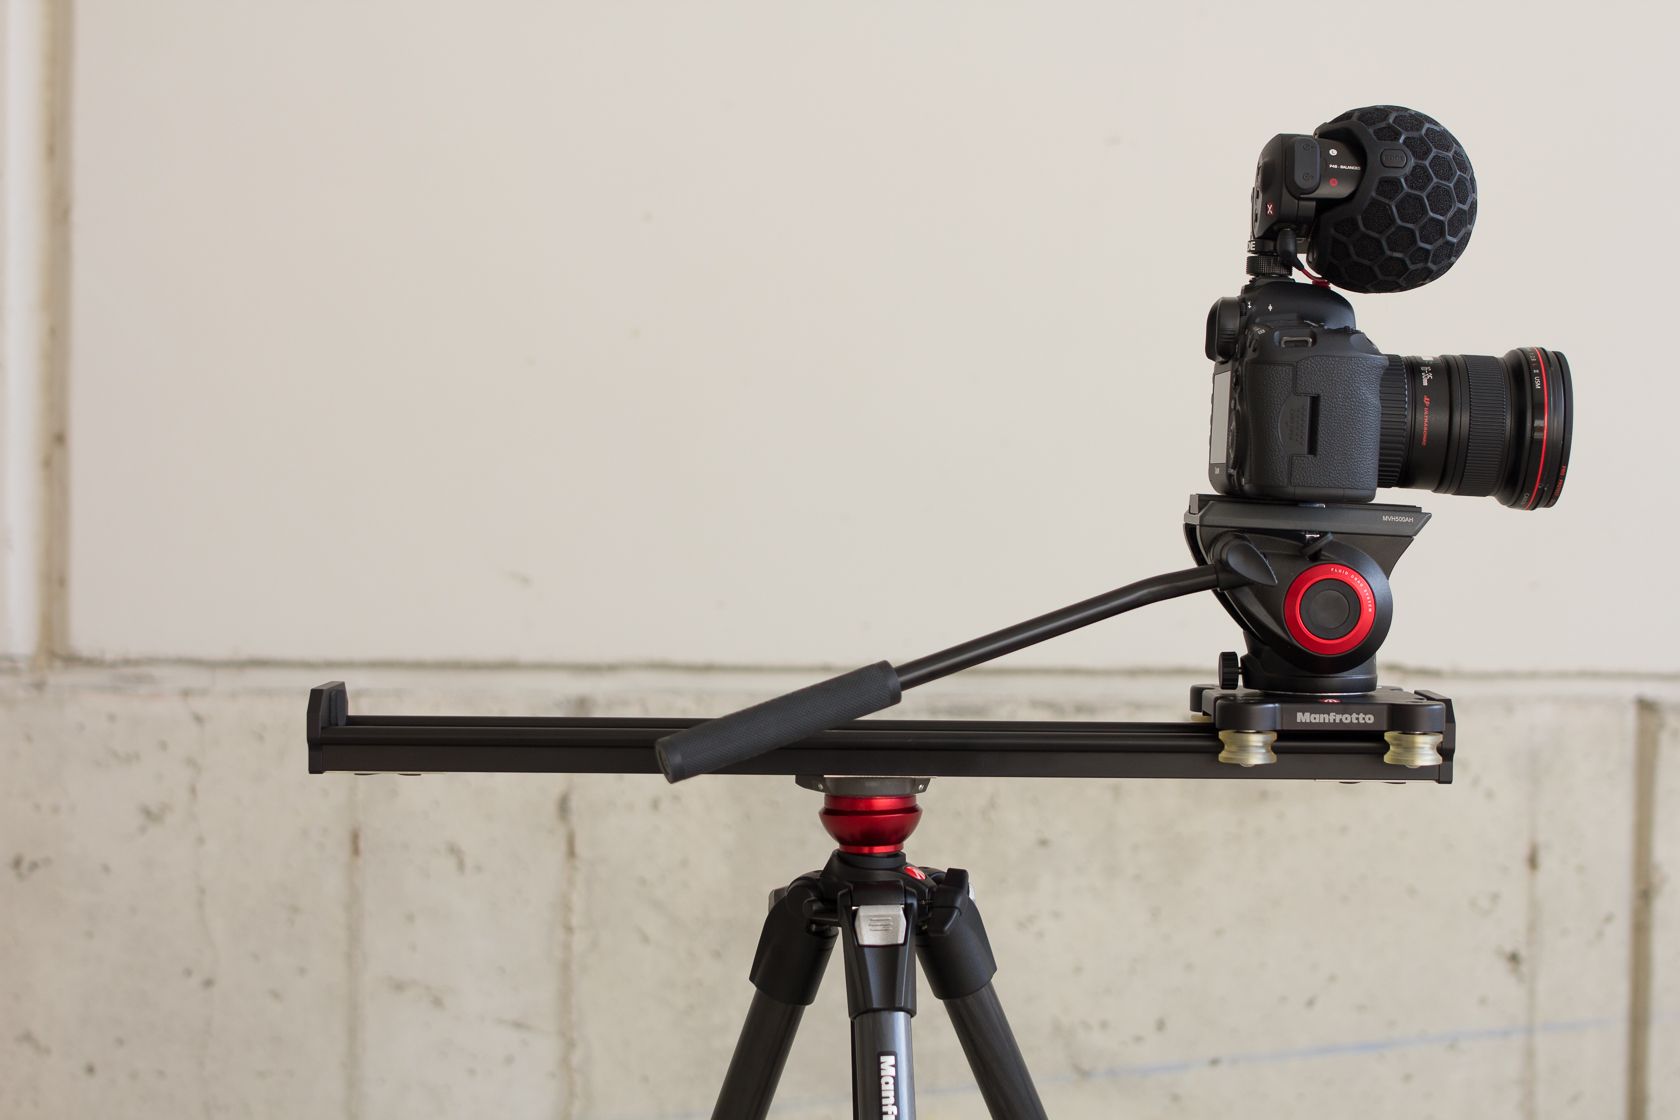
1. Single axis movement.
This first method doesn’t exactly require a rocket scientist to discover. This is the method of moving the camera from one side of the slider to the other without any panning or tilting involved. Although very basic in nature, sometimes simple is best.


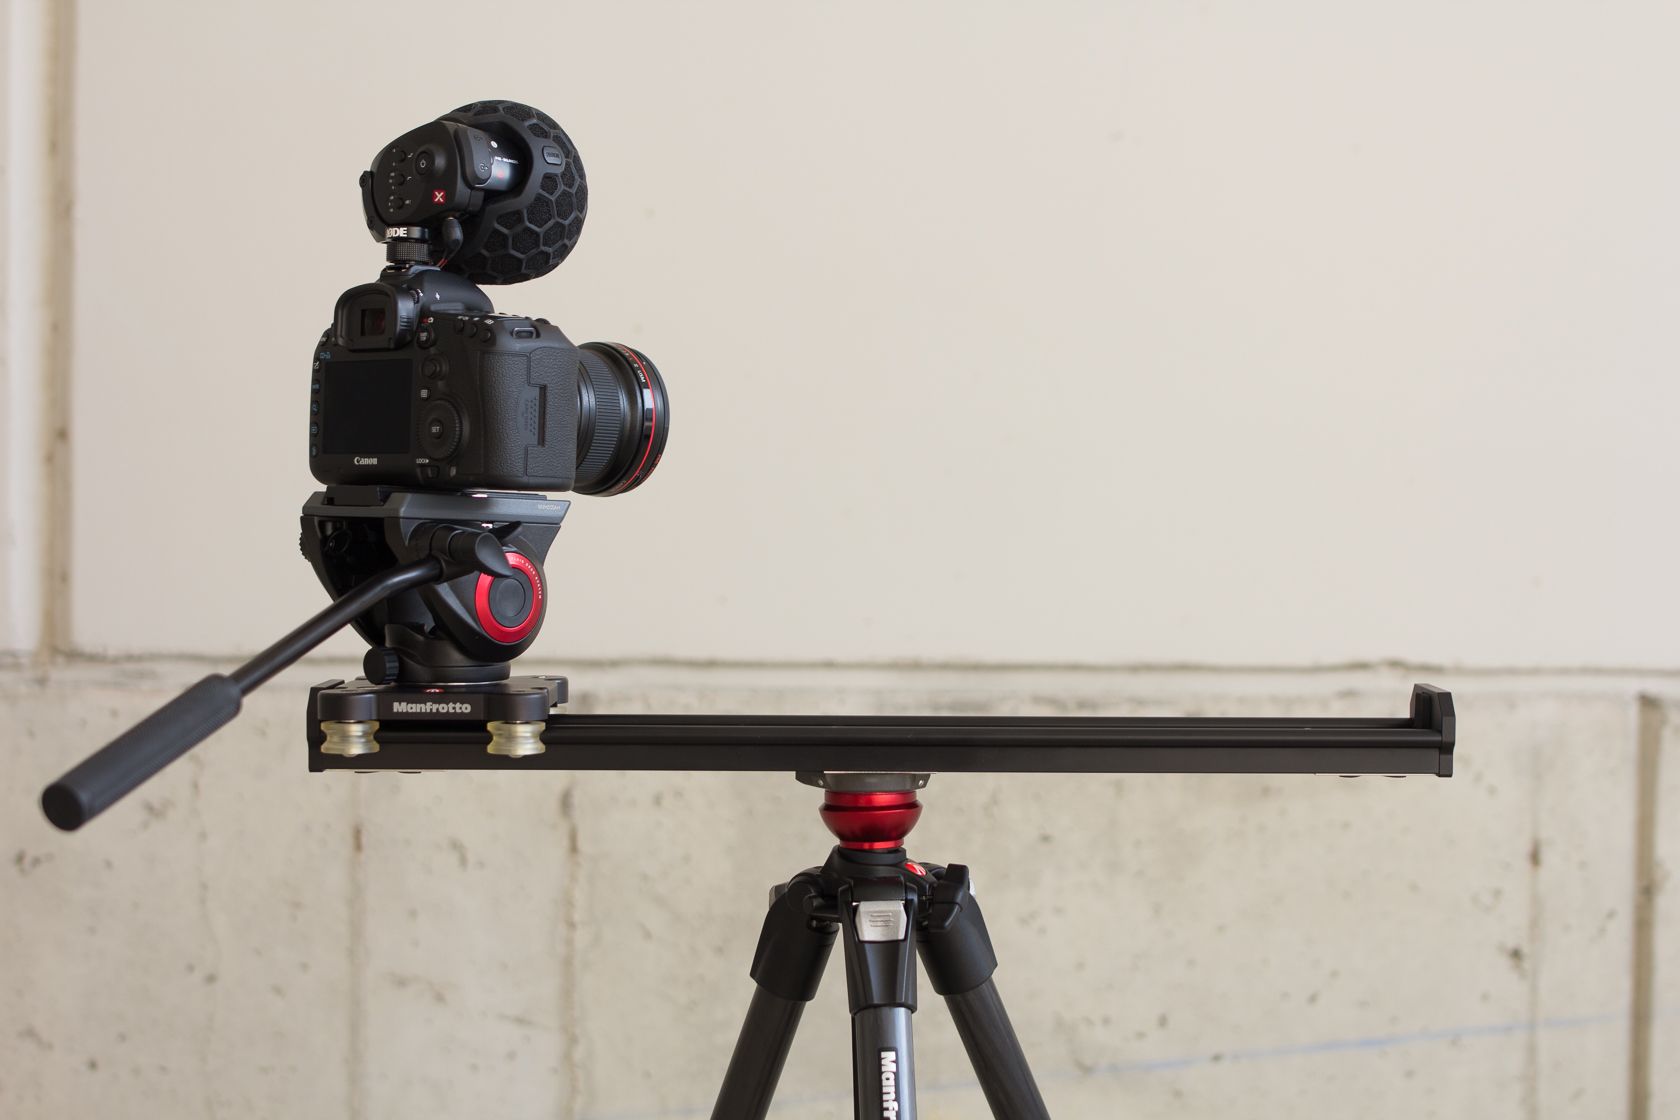
2. Pushing forward.
This method is almost identical to the first, however, instead of having the lens aimed perpendicularly, it is parallel to the slider. This gives the ability to either push into a scene. This is a great way to create an introduction shot, whether introducing a new character, product, or location. It’s also worth mentioning that instead of pushing forward, you can pull backward as well. This will give the opposite effect of an introduction, and will instead imply a feeling of leaving the scene behind. This technique is commonly used for the closing shot of a film.

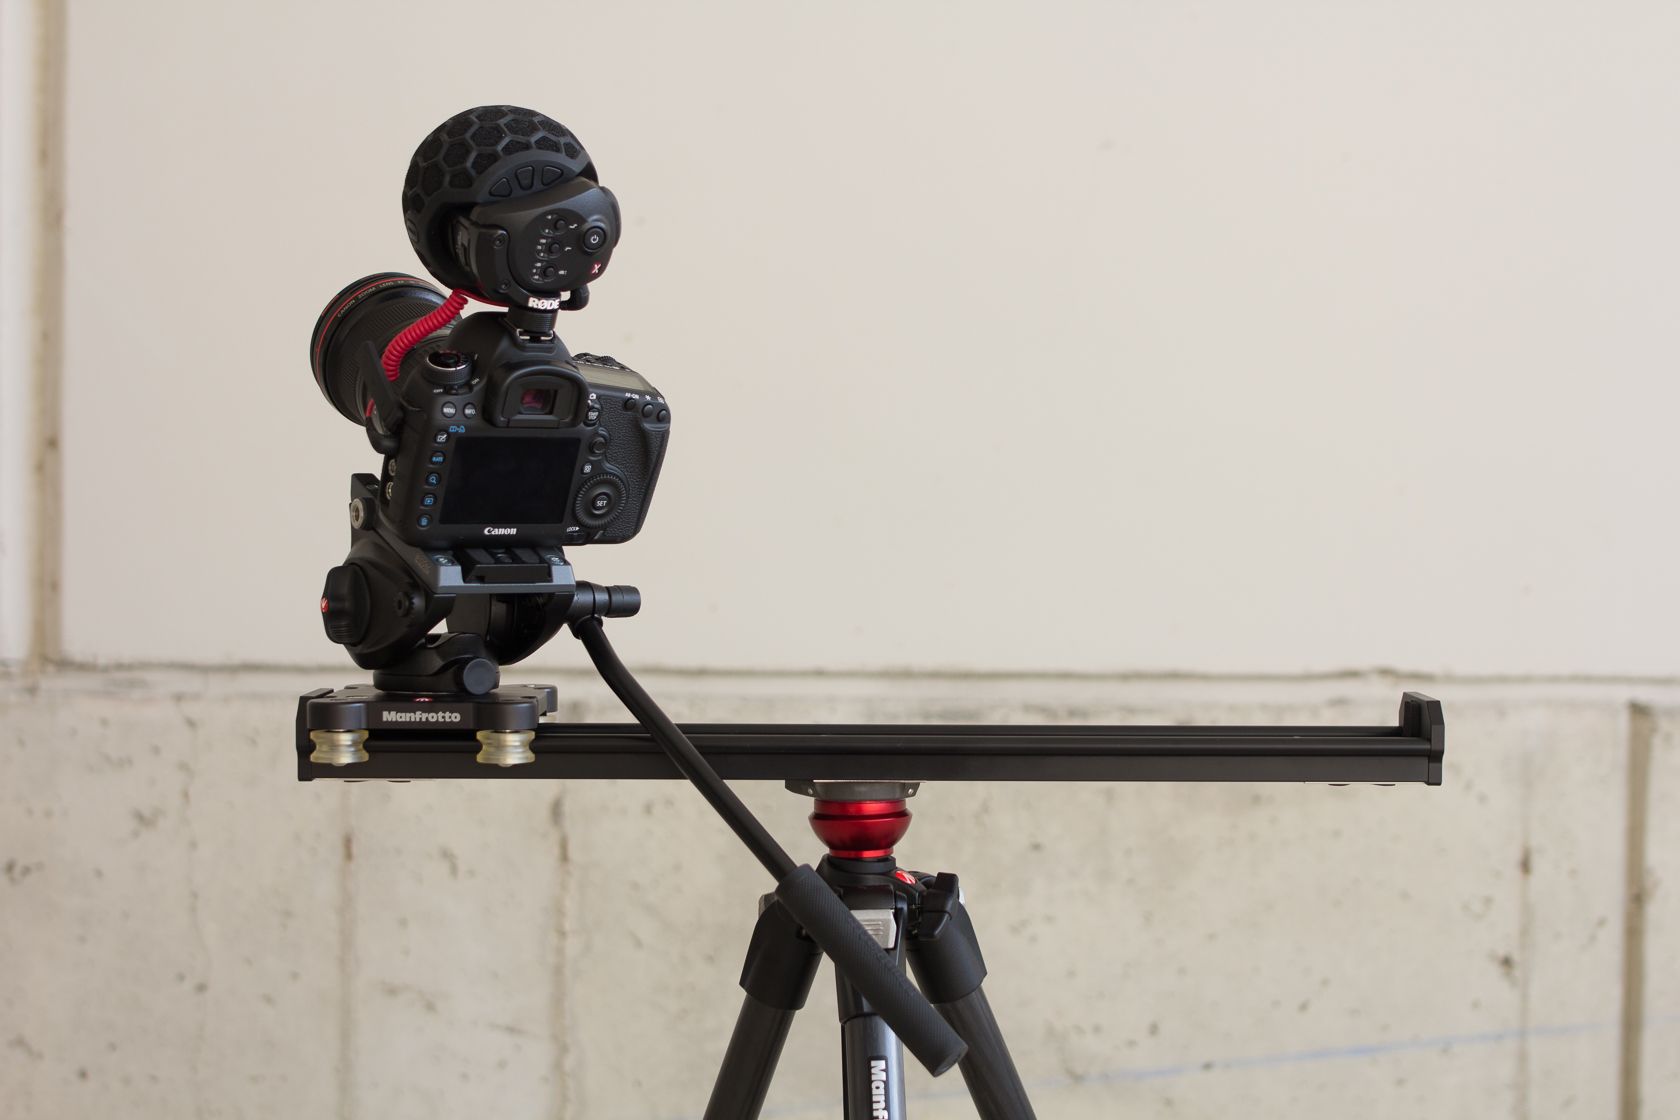
3. Panning while sliding
Audiences always love to see shots that are dynamic. Always remember that your viewers have a short attention span. Simply speaking, bore them and you will lose them. Panning (turning the camera horizontally) while sliding is a very simple way to liven up your scene. You will commonly see this technique used in interview settings, and more specifically, used for a b camera.

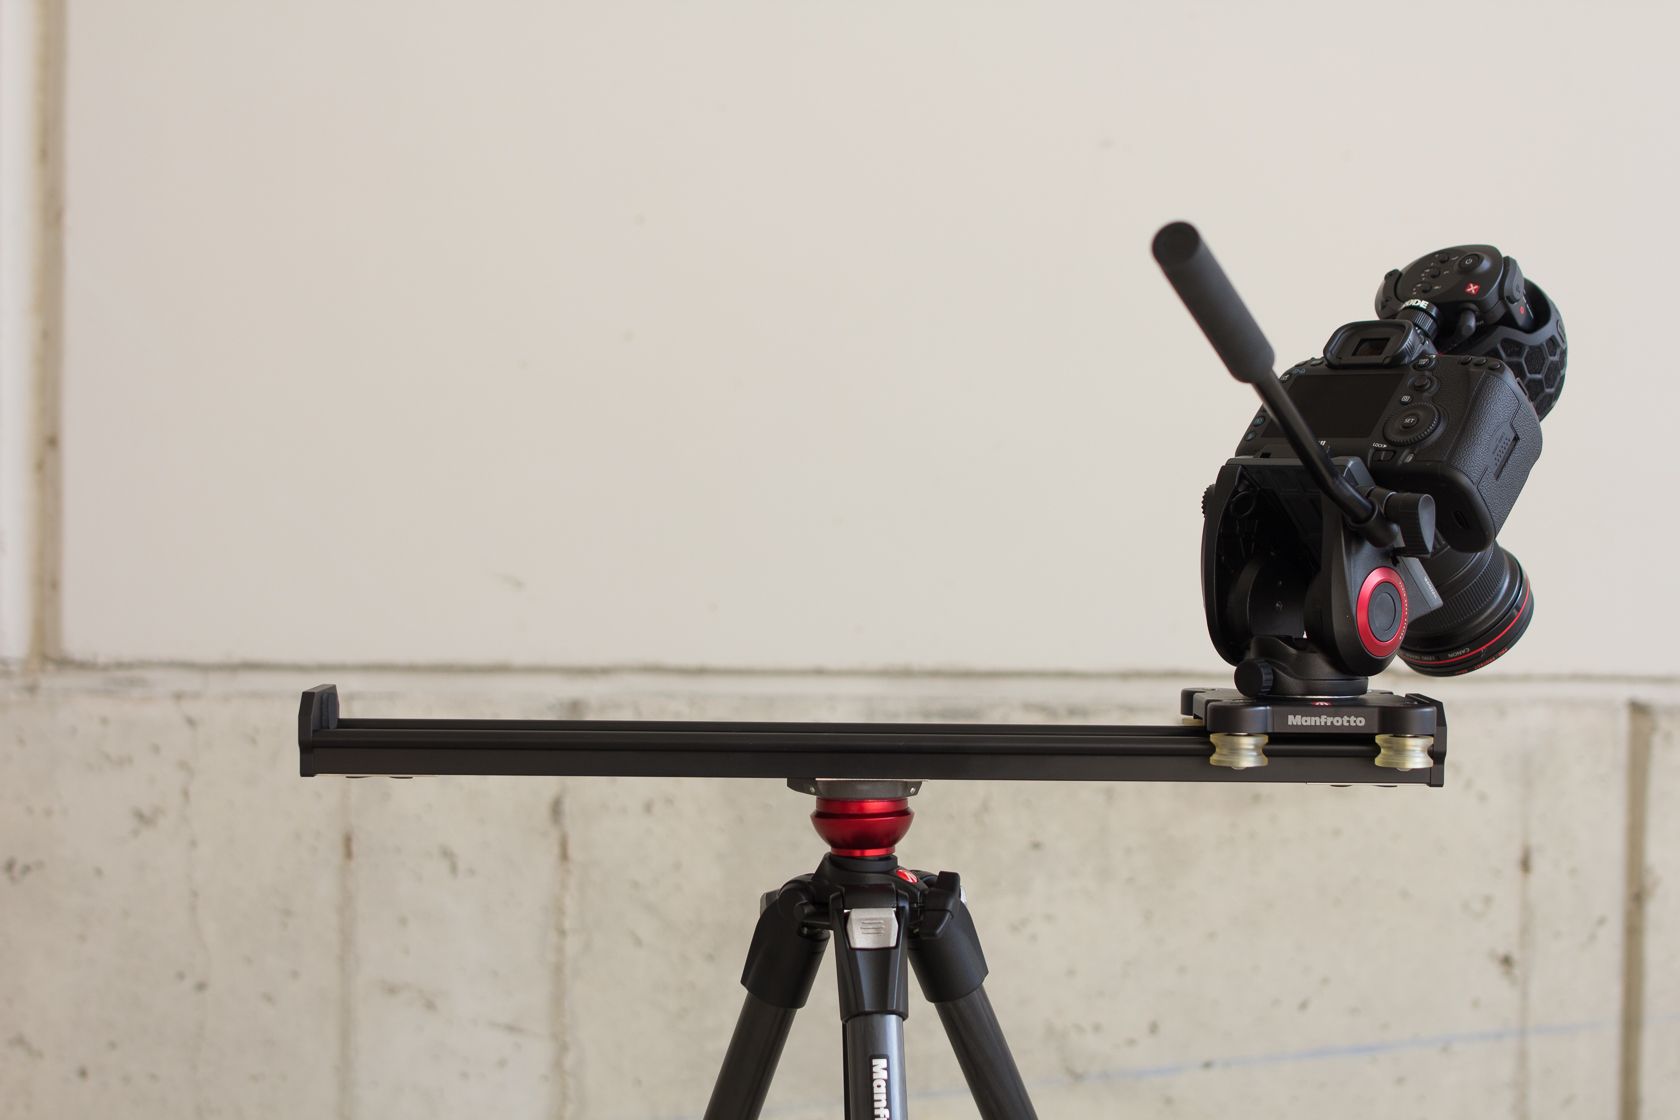
4. Panning and tilting while sliding.
This is an even more interesting revealing shot that adds more dimensions. By controlling all three axes, you are freed to fully track the motion in front of you.
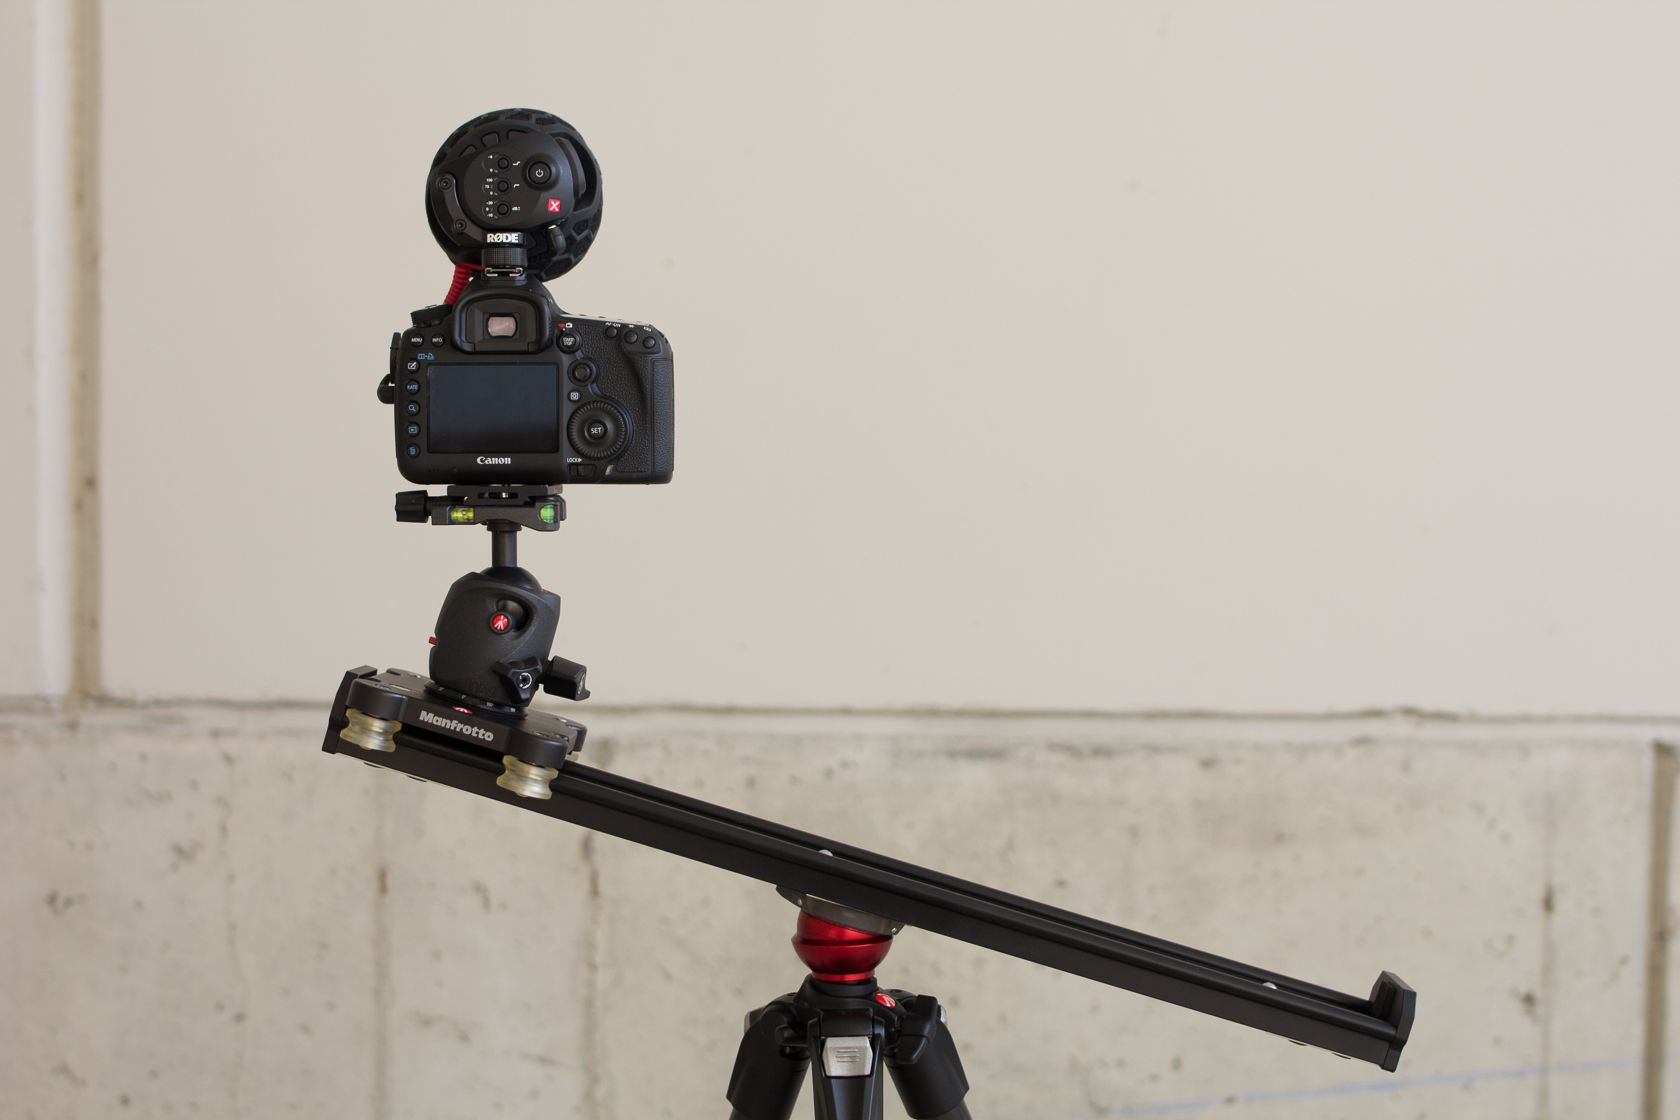
5. Tilt the slider
Everything I’ve discussed so far assumes the slider is on a perfectly level field. By mounting a ball head (we use the XPRO ballhead) on top of your slider instead of a fluid head, you enable yourself to get unique and interesting rising/lowering shots. For example, you can set your slider as parallel to stair steps, and slowly track as your talent walks downstairs. You could also set your slider as perfectly vertical, allowing for a jib-like rising shot.

While I could ramble on all day about other possibilities, those are the key slider techniques we’ve come to regularly rely on. With those basics in place, I’d like to cover some tips and tricks I’ve come across over the years that I think are important to consider.
Tips and Tricks
1. Rack focus
After you have become comfortable with the various ways of moving a camera whilst slider mounted, consider the impact that focus can have. For example, using the first technique listed of single axis movement; you can begin with your camera on the left side of your slider focused on an object directly in front of the lens. As the camera is pushed along the slider to the right, the focus can be adjusted so that the shot ends focused on a further out object. Adjusting focus while the camera is moving will take some practice, but it’s certainly worth getting down. Another way you can use focus as a tool is using the second technique listed of pushing forward. A shot I like to compose begins out of focus, pushes forward, then stops moving when the object of desire is in focus. Focus combined with motion is a powerful transition tool.
2. Use foreground
Using a slider effectively takes more thought than might be expected. Sometimes people will approach me to tell me they’re not getting the results they desire in their slider shots. One of the first things I’ll ask them is whether or not they’re incorporating foreground. Foreground gives reference for how much distance is actually being covered when the camera moves. For example, we did a motion time-lapse while shooting a scenic video in Times Square. For this specific shot, we felt it lacked substance, and the motion was hardly noticeable. After some brainstorming, we realized there was an extra by-standing construction cone that wasn’t being used. By simply framing this bright orange cone in the foreground of our shot, the motion was accentuated, and we got the dynamic feel we were searching for. Something also worth mentioning in regards to capturing motion is that the wider of a lens you are using, the more motion will be emphasized. 2 great lenses for this are a 14mm or 16-36mm lens.
3. Fine-tune your fluid head
All Manfrotto fluid heads offer some form of adjustment when it comes to fluid drag. The 502 head for example, has a fluid drag system for both pan and tilt. Different shots will require different sensitivities, so it’s worth getting well acquainted with these settings before shooting on a paid set. Fine-tuning these settings just right will enable you to achieve perfectly smooth slider shots.
4. Consider points of contact
When using any sort of support equipment, you should always strive to make sure your shot is as controlled as possible. The slider is no exception. I’ve seen people control a slider with one hand before. Whenever I use a slider, I make sure I minimally have two points of contact with the fluid head (both hands), but I’ll often use the pan bar as a third point of contact which can rest against my shoulder. There is no one correct way to handle the camera; some prefer a hand on the fluid head, whereas others prefer their hand holding the camera or even the slider base plate. This will take some trial and error, but will make a world of a difference once you find your favorite way of operation.
5. Adjust slider sensitivity
The Manfrotto sliders have a conveniently placed sensitivity knob on the side. Similarly to their fluid heads, this controls the amount of resistance you face when using the slider. Turning this knob all the way loose will let it slide smooth as butter, whereas having it tightened as tightly as possible will make it difficult to move at all. Somewhere in the middle typically works well for us depending on the camera load out/accessories we’re using.
6. Practice practice practice!!
This is in no way unique to filmmaking, and certainly not to operating a slider. While some people may read this article in hopes to take a shortcut in their slider proficiency, the truth is that practice and time are vitally important to crafting beautiful and well-composed shots. The best advice I can possibly give is to practice as much as you can. Take your slider to a variety of kinds of locations or events that demand different shooting styles. The goal is for the slider to become almost like a language you’re proficient in.
Traveling with a slider
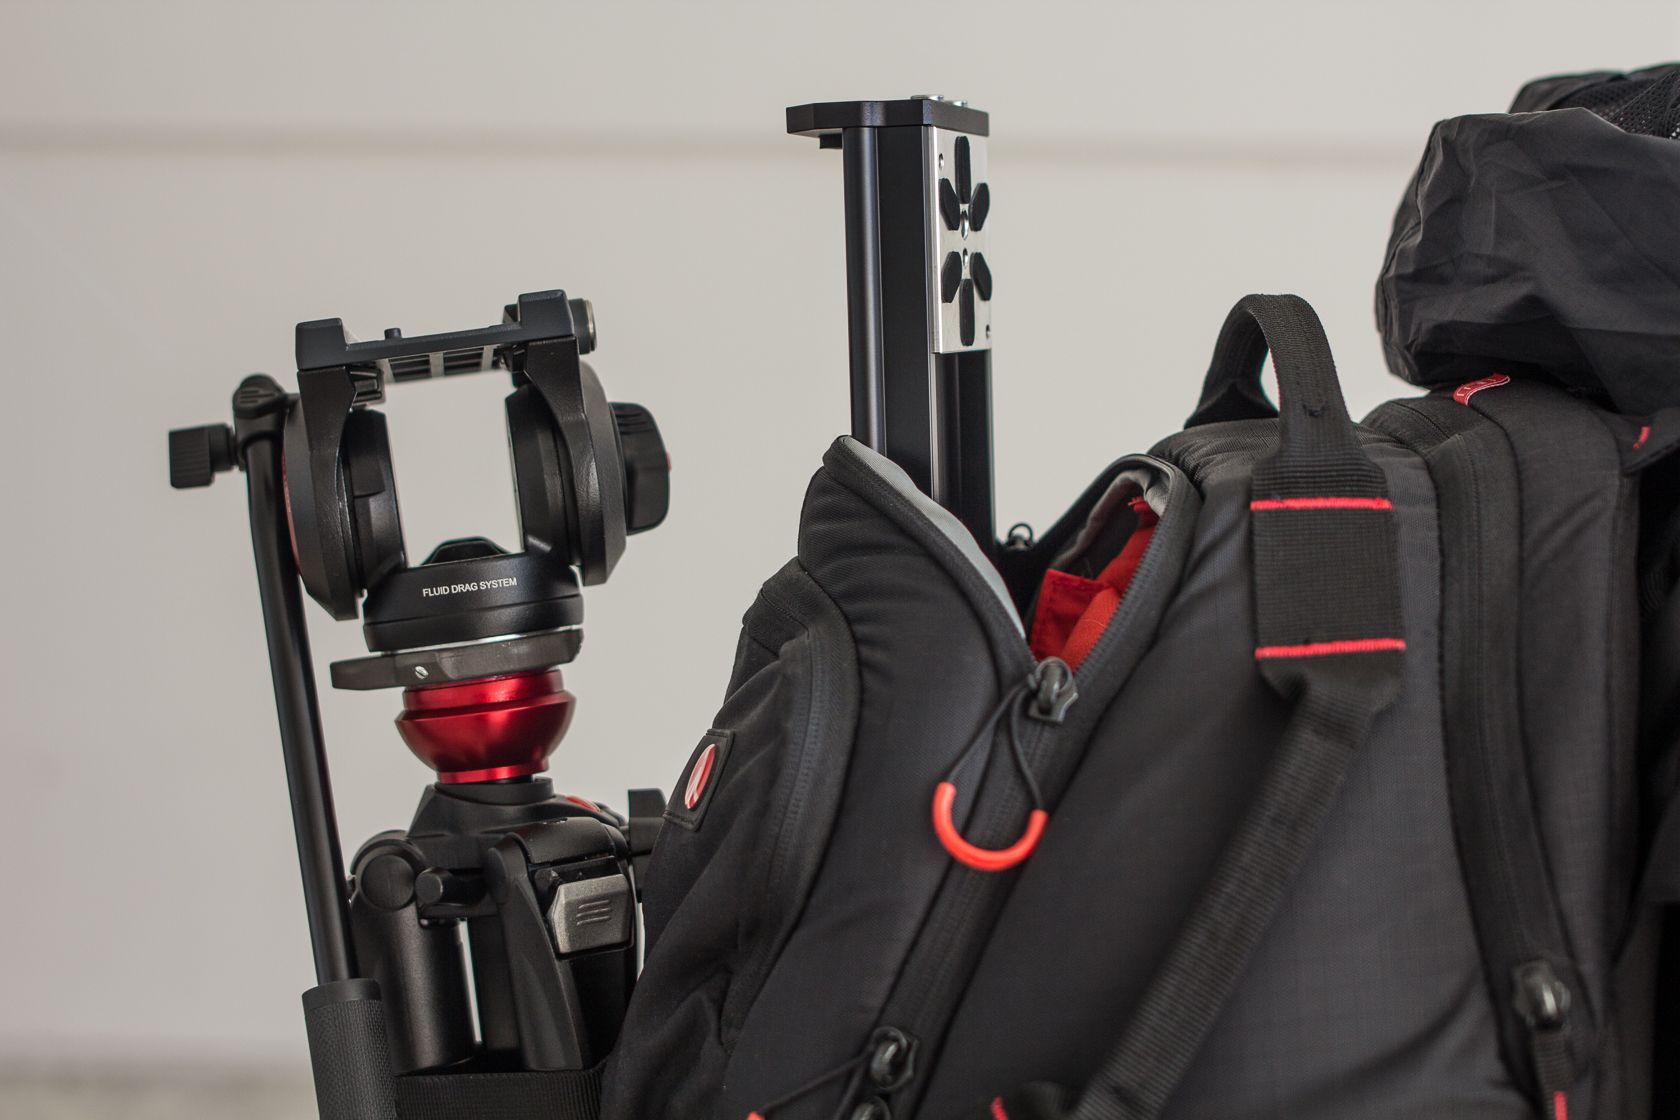
We personally use the 60cm version slider because of its incredible portability. This is great because it means we can bring it with pretty much anywhere. We are exceedingly vocal about the importance of packing and traveling as light as possible when it comes to gear. A setup we’ll often use is The Pro Light Camera Backpack: Bumblebee-220 PL with the 755CX3 MDEVE Carbon Fiber Tripod with 50mm Half Ball mounted on back, along with the Manfrotto 60cm slider enclosed inside. Part of the slider will end up sticking out of the backpack’s top, however we’ve never seen this as an issue. This setup is nice for a few reasons. 1. When operating as a one-man band, it provides the ability to bring a tripod and a slider instead of one or the other. 2. This still allows for plenty of room in the backpack. Some essentials we typically keep handy are our trusty Canon 5d Mark iii, a few lenses, a Manfrotto Spectra 900FT light, a G-tech ATC terabyte drive, a Rodelink Wireless Filmmaker Kit, and some Manfrotto ND filters.

If you have any questions, we’d love to talk.
Happy shooting!